How to install a DIN7081 sight glass correctly
A concise, step-by-step installation guide for DIN7081 long sight glass plates — from pre-checks and safe handling to torque procedure, leak testing and commissioning. Follow these steps to avoid leaks, glass breakage and unnecessary downtime.
Quick overview — desired outcome
Goal: a leak-free, mechanically safe and optically clear installation where the plate sits evenly, gaskets compress uniformly, and the assembly meets the operating pressure & temperature requirements.
Success checklist (at a glance)
- Correct DIN7081 plate size and thickness
- Clean, undamaged seating surfaces
- Correct gasket material & cross-section
- Controlled cross-pattern torqueing with a calibrated torque wrench
- Passes leak and visual inspection tests
Tools & materials you will need
- Clean lint-free cloths and approved cleaner (e.g., isopropyl alcohol)
- Calibrated torque wrench and appropriate sockets
- Manufacturer-specified gaskets and spare gaskets
- Protective gloves and eye protection
- Suction lifter or soft pads / glass handling tools for large plates
- Inspection light and magnifier
- Leak test kit (soap solution, low-pressure pneumatic/hydro test equipment)
- Camera or phone for QC photos and documentation
Pre-installation checks
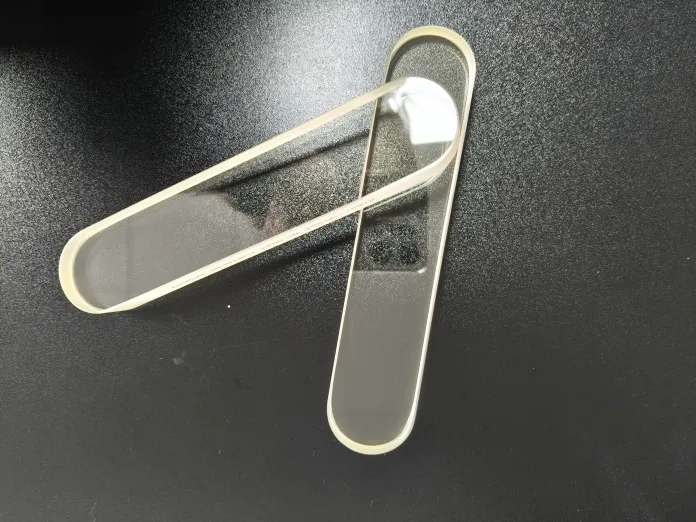
- Verify the plateConfirm length × width × thickness match your DIN7081 code or the seat measurement. Inspect faces and edges under good light. Reject any plate with chips on the sealing edge.
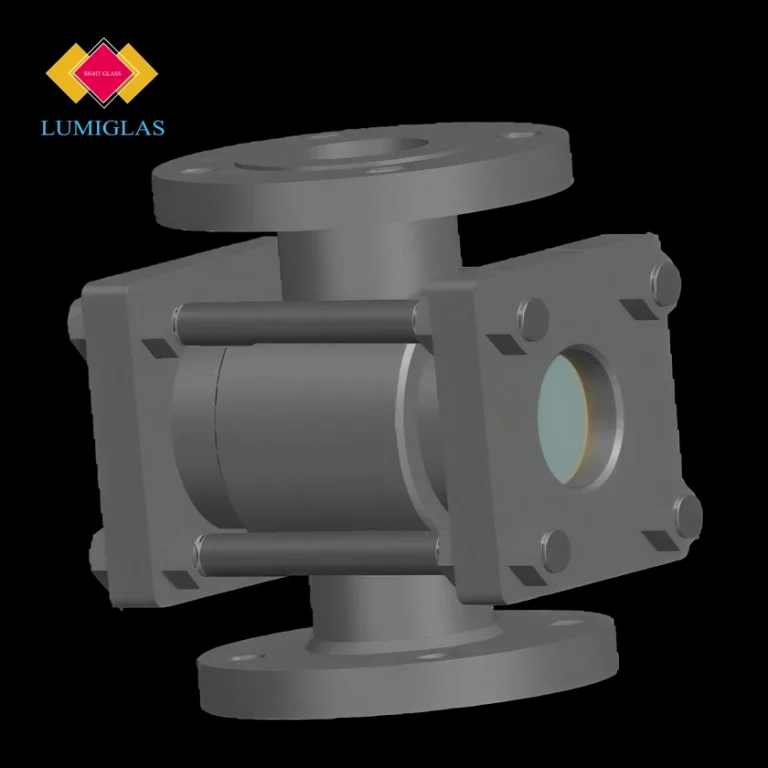
- Check the seat & gasket channelMeasure seat depth, width and flatness. Ensure the gasket profile matches the seat geometry. Many failures come from measuring visible glass only — always measure the seat.
- Confirm materials & certificatesFor critical or audited systems confirm batch numbers, material grade and any dimensional / P–T certificates before installation.
- Clean everythingRemove dust and old gasket fragments. Use approved cleaners — no grit, no grease (unless manufacturer permits).
Step-by-step installation procedure
-
Safe handling & positioning
Use gloves for small plates and suction lifters or two-person lifts for larger plates. Never touch the sealing faces. Place the plate gently into the seat, aligned to center — do not force.
-
Place gasket(s)
Fit the recommended gasket (material must be compatible with media & temperature). Ensure the gasket is flat with no twists; confirm orientation of two-part gaskets or back-up rings.
-
Hand-tighten clamps evenly
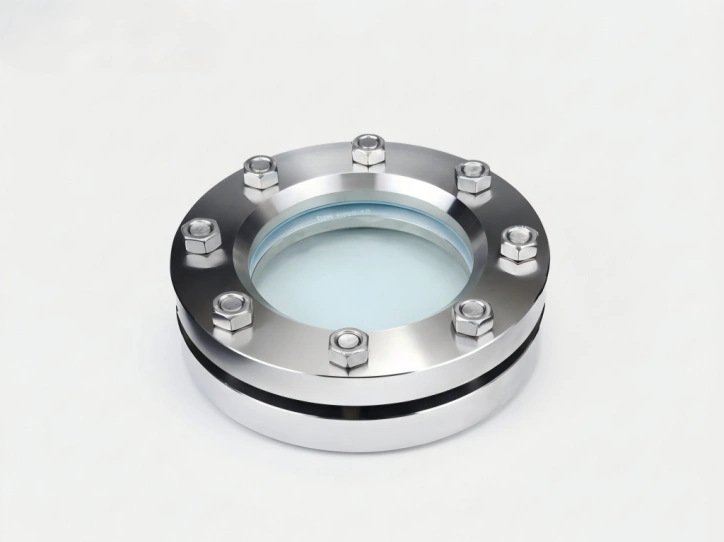
Install retainer plates and hand-tighten bolts in a cross (criss-cross) pattern so the plate seats evenly. The aim is uniform initial compression, not final torque.
-
Torque in small, incremental steps (cross pattern)
Using a calibrated torque wrench, tighten bolts in small equal increments following a cross/star pattern. Recommended practice: preload all bolts to ~25–50% of final torque, then 75%, then final torque — always in cross sequence.
Important: Use the torque value specified by the clamp or gasket manufacturer. If unavailable, contact the sight glass supplier or Lumiglas for guidance.
-
Align & check compression
After final torque, visually check gasket compression all around the seat. Compression must be uniform with no gaps or excessive extrusion. If irregular, loosen and repeat the incremental torqueing.
-
Leak & functional test
Conduct an appropriate leak test: soap-solution for low-risk systems; pneumatic or hydrostatic tests per plant procedure for pressurized systems. Hold at specified test pressure and monitor for bubbles or pressure loss. If leaking, drain and re-inspect seating and torqueing.
-
Optical & alignment check
With the process safely offline or at a safe condition, inspect the glass for optical distortions, stress lines or light scattering. Confirm the window gives the required view.
-
Documentation & marking
Record part numbers, plate batch, gasket type, bolt torque values, installer and inspection photos in maintenance logs. Attach supplier dimensional/material reports as required for audits.
Commissioning & the first hours in service
- Re-check bolt torques after the first thermal cycle or 24–48 hours — some gaskets settle.
- Include sight glass inspection in routine PM checklists (weekly to monthly depending on criticality).
Common mistakes and how to avoid them
- Wrong gasket material: select materials compatible with media and temperature.
- Over-torquing: use specified torque; over-torqueing can fracture the glass.
- Uneven torqueing: always use cross-sequence incremental tightening.
- Installing chipped glass: reject plates with sealing edge chips — they lead to failure.
- Failing to document: keep batch numbers/certificates for audit and warranty purposes.
Safety considerations
- Treat installation on pressurized equipment as pressure-containment work — follow LOTO and confined-space rules.
- Do not perform pneumatic/hydro tests without risk assessment and PPE.
- For large plates use mechanical lifters and two-person lifts; glass breakage can cause serious injury.
Maintenance & replacement policy
- Daily/weekly visual checks for fouling, cracks and leaks as plant permits.
- Torque re-check after first cycle and according to your PM schedule.
- Keep spares of common DIN7081 sizes and matching gaskets onsite — Lumiglas can advise an optimal spares list for your fleet.
When to call a supplier or engineer
If you don’t have torque specs, seat drawings, or the plate is for high-pressure / safety-critical service — stop and consult the manufacturer. Lumiglas offers specification review, torque guidance, pre-matched gaskets, and certified DIN7081 plates. Send photos and measurements to lumistar@188.com or upload via our technical request form: Contact Us . We will validate the seat, recommend gasket part numbers, and provide dimensional & material certificates.